5 minute read
Clone tool lesson

Next Article

The CLONE TOOL U s i n g O p a c i t y
Every time a tool is chosen in Photoshop’s tool palette, the options in the tool bar change. When you choose the clone tool, one of the options is opacity. Opacity is one of the most effective techniques to solve many problems in photographs.
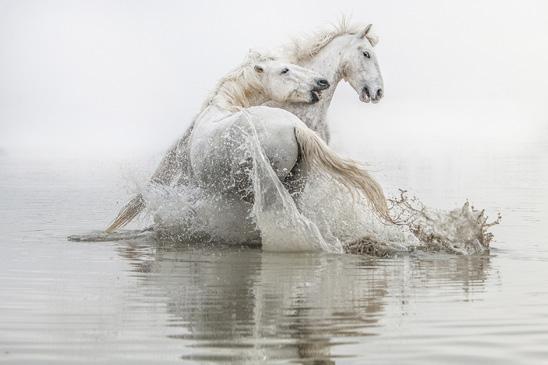
Take for example the image below of two stallions sparring in a marsh in southern France. The distant shoreline and the scrub vegetation don’t really ruin the picture, but I don’t particularly like it. The dark swath is distracting and diverts attention from the horses. The problem in removing it, though, is that the sky has to gradually blend with the water as if the background were foggy. Any kind of sharp demarcation line wouldn’t look good.
The first thing I did was to select the clone tool and, at 100% opacity, I cloned the sky over the shoreline and vegetation to completely obliterate it. Then, I changed the opacity to 50%. I held the option key down (alt key on a PC) and established the anchor point, or the place from which the clone tool will copy pixels. This point was at the top of the water in the lake. I then cloned up into the sky area just above the horizon line. At a reduced opacity (50% in this case), the clone tool blended the water into the lowest part of the sky.
Still on the lowered opacity, I then re-established the anchor point in the sky, this time just above the water level. Cloning the white sky down into the water blended the two areas further.
My technique, then, is to use 50% opacity and clone from the water into the sky followed by the same procedure but from the sky down into the water. This blends the two parts of the image together seemlessly.
Another use of the clone tool at a lowered opacity is shown on the next page. These are models of marine dinosaurs, and I photographed them from above in my office using diffused window
May 22 - June 1, 2021
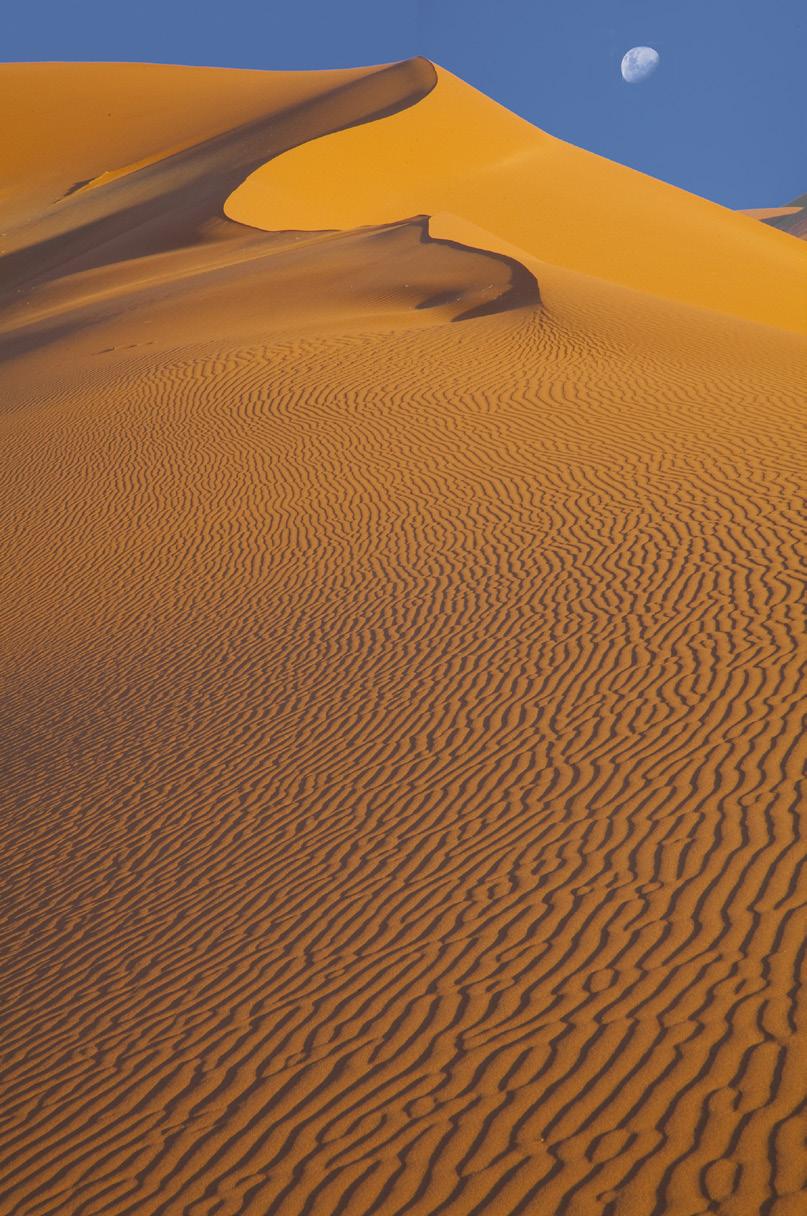
Monster dunes Wildlife Walvis Bay cruise Dead trees Milky Way
PREMIIUM PORTFOLIO REVIEWS
b y J i m Z u c k e r m a n
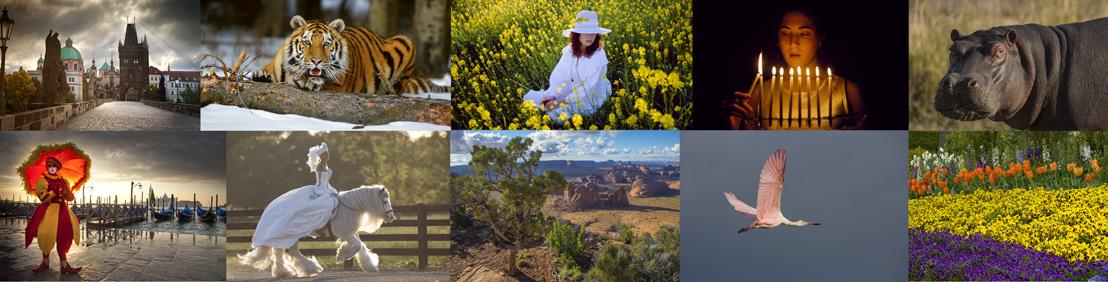
Jim is now offering professional reviews of your portfolio. Choose 20 images, and Jim will select the 10 he wants to review with you on a on-to-one basis.
You will share computer screens with Jim, and based on his 50+ years in photography, he will give you constructive comments that will go a long way to helping you significantly improve your shooting. In addtion, he will demonstrate to you how to use Photoshop to enhance and embellish each image. See how he uses his artistic and technical skills to transform your original photographs into visuals that exceed your expections. He is known for being able to fix photographic problems, and you’ll see this demonstrated right on your own computer screen.
Jim will cover topics like lens choice, camera settings, depth of field, exposure, composition, graphic design, and the all-important subject of whether a background is complementary or distracting. All levels of photographic expertise, from beginners to advanced, are welcome.
Contact him at photos@jimzuckerman.com if you would like to take advantage of this professional review. Click on the montage above for more information.
light. That meant the environment had to be photographed in diffused light as well, and I chose a shot from a cliff in New Zealand.
It’s one thing to paste a subject into a background, and it’s quite another to make that subject look like it was really there. To do that, I wanted the flippers of the dinosaurs as well as the posterior portion of their bodies to appear submerged. That’s where the clone tool comes in.
Using 50% opacity again, I cloned seawater over the body parts of the dinosaurs. This took about 5 or 6 seconds -- it’s really easy. I had to decide exactly where the water line was placed at the base of their necks. That defined When using the clone tool on an opacity less than 100%, the effect is cumulative. In other words, when I cloned over the dinosaur body parts once at 50% opacity, that produced what you see here. If I cloned again, also at 50%, the water would then completely obliterate the flippers and the rear half of the body because it would be 100% opaque.
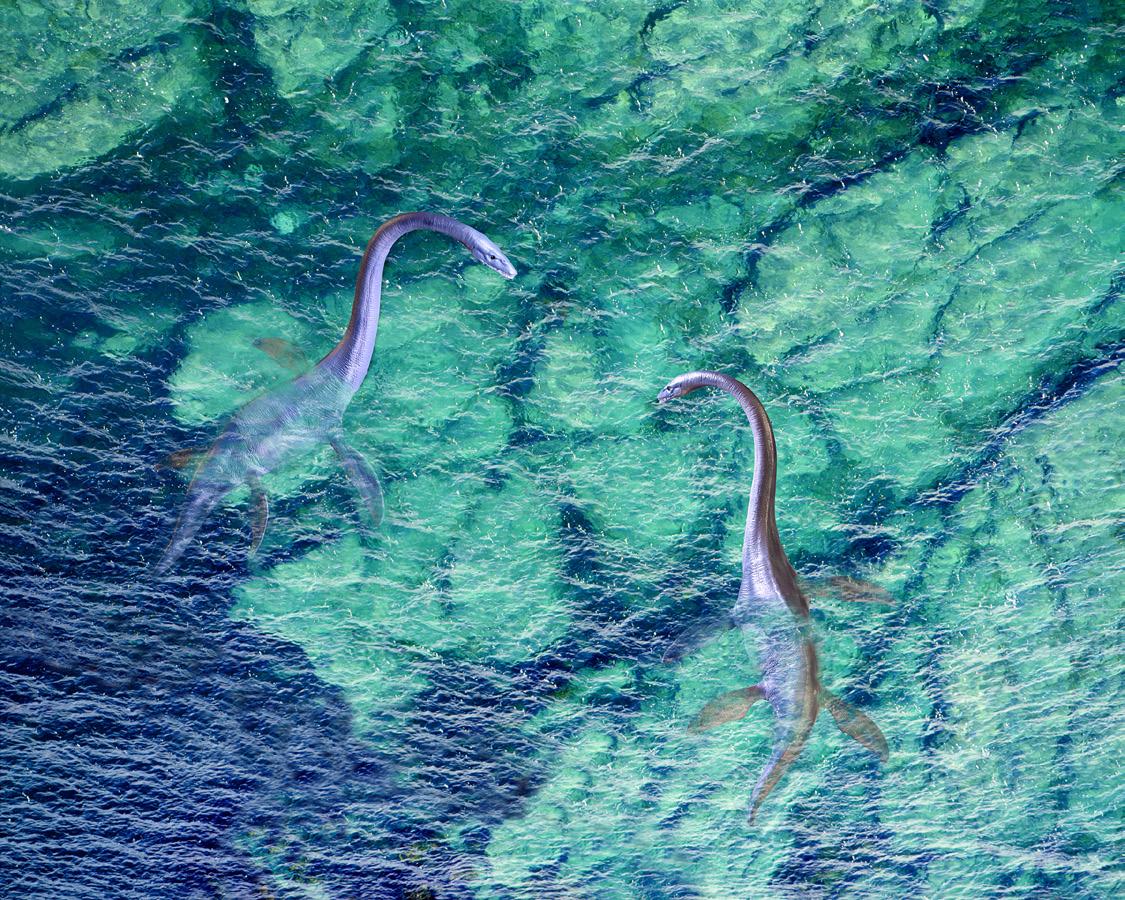
If you are not sure what opacity setting will look right, start at a lower number, such as 20%. Apply 20% opacity two or three times to access how much looks right in any given situation. §
UPCOMING PHOTO WORKSHOPS
Carnival in Venice Workshop
Outrageous costumes in a medieval environment! Venice is great to visit and photograph any time, but during Carnival it’s magical. There is nothing like it anywhere in the world. Exotic masks, stunning colors, classic images. You’ll have a gondolar shoot, two palace interiors, a boudoir photo session, and much more.

Feb. 5 - 12, 2021
Snowy owls workshop
Stunning pictures of snowy owls in flight. Up close and personal encounters with owls in the wild. Learn the best settings for capturing birds in flight, and how to deal with the cold when shooting in winter. Based near Toronto, Canada.
January 18 - 22, 2021
Photoshop Workshop
The setting is in my home, and in this two day workshop you’ll learn enough to be truly dangerous in Photoshop! How to replace a sky, how to fix all kinds of photographic problems in your pictures, how to handle blown highlights, how to be incredibly creative . . . and more.
July 11-12, 2020


